Alight Motion is a powerful yet easy-to-use video editing app for mobile devices. With Alight Motion, you can create visually impressive animations and motion graphics on your phone or tablet. This guide will walk you through the basics of the app, from downloading and account setup to editing techniques and final exporting.
Downloading and Installing Alight Motion
The first step is to download and install Alight Motion on your device:
- To install the Alight Motion mod, download it here
- On Android, get it from the Google Play Store
- On iOS, download it from the App Store
- The app is free to download and use, with some advanced features requiring a subscription
Alight Motion is compatible with most modern iOS and Android smartphones and tablets. Make sure your device meets the minimum OS version and hardware requirements.
Carefully read the system requirements; there may be lags on low-end phones.
Creating a User Account
Once installed, you’ll need to create an account:
- Launch Alight Motion and tap “Create Account”
- Enter your email and choose a password
- Alight Motion will send a confirmation email
- Click the link in the email to verify your address
- Your account will now be active!
The account allows you to save projects to the cloud and sync between devices.
User Interface and Navigation

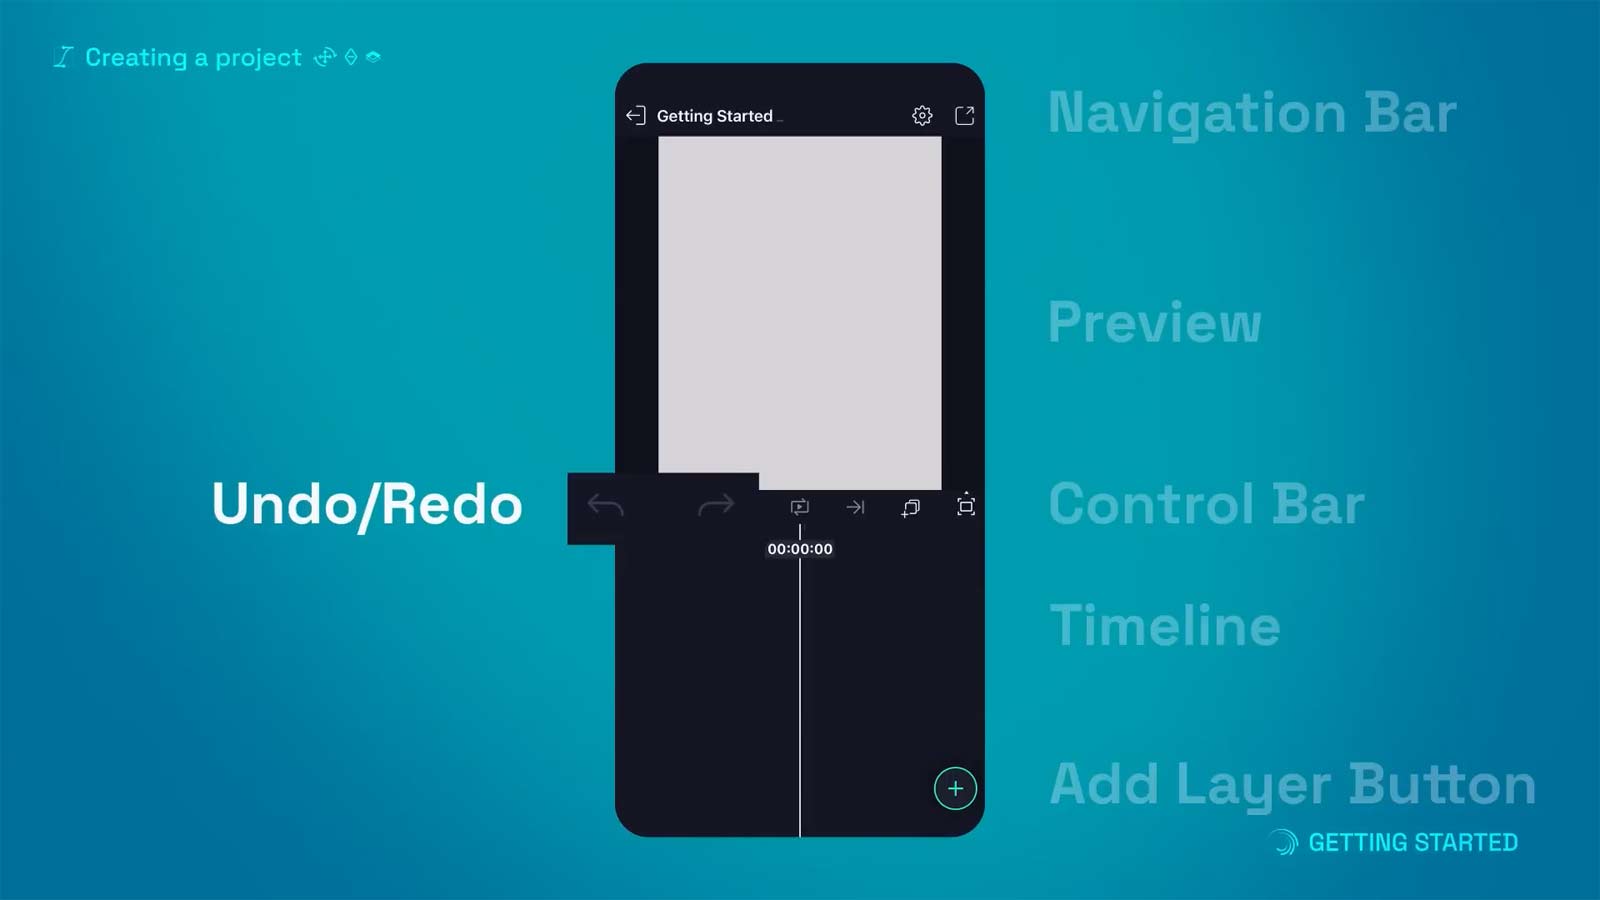
Here’s a quick overview of Alight Motion’s user interface:
- Timeline – Displays layers, playhead, keyframes
- Preview – Shows the current state of the project
- Control Bar – Playback tools like scrubbing
- Add Layer Menu – Insert new layers
- Layer Groups – Control order and overlap
Learning how to navigate the app is key to efficient editing. Take some time to get familiar with where everything is located.
Basic Tools and Functions
These core Alight Motion tools will form the backbone of your editing workflow:
- Add Layer – Bring in new layers like shapes, text, and videos
- Playback Controls – Preview animation and scrub timeline
- Undo/Redo – Revert mistakes and reapply changes
- Move & Transform – Adjust layer properties like position and scale
- Keyframe – Animate layer properties over the timeline
Mastering these basics will make the editing process much smoother.
Importing Media Files
Importing your own media is easy:
- Tap “Add Layer” and select the Media tab
- Tap “View All” to access your device’s media files
- Navigate to the files you want to import
- Supported formats include JPG, PNG, MP4, MOV, MP3
- Added media will appear as new layers
For best performance, optimize large files before importing by compressing their size. A more detailed look at formats.
Animation Basics

Animation brings your projects to life. Here’s an introduction:
- Add keyframes on the timeline to indicate property values at specific times
- Adjust keyframes to perfect the animation motion
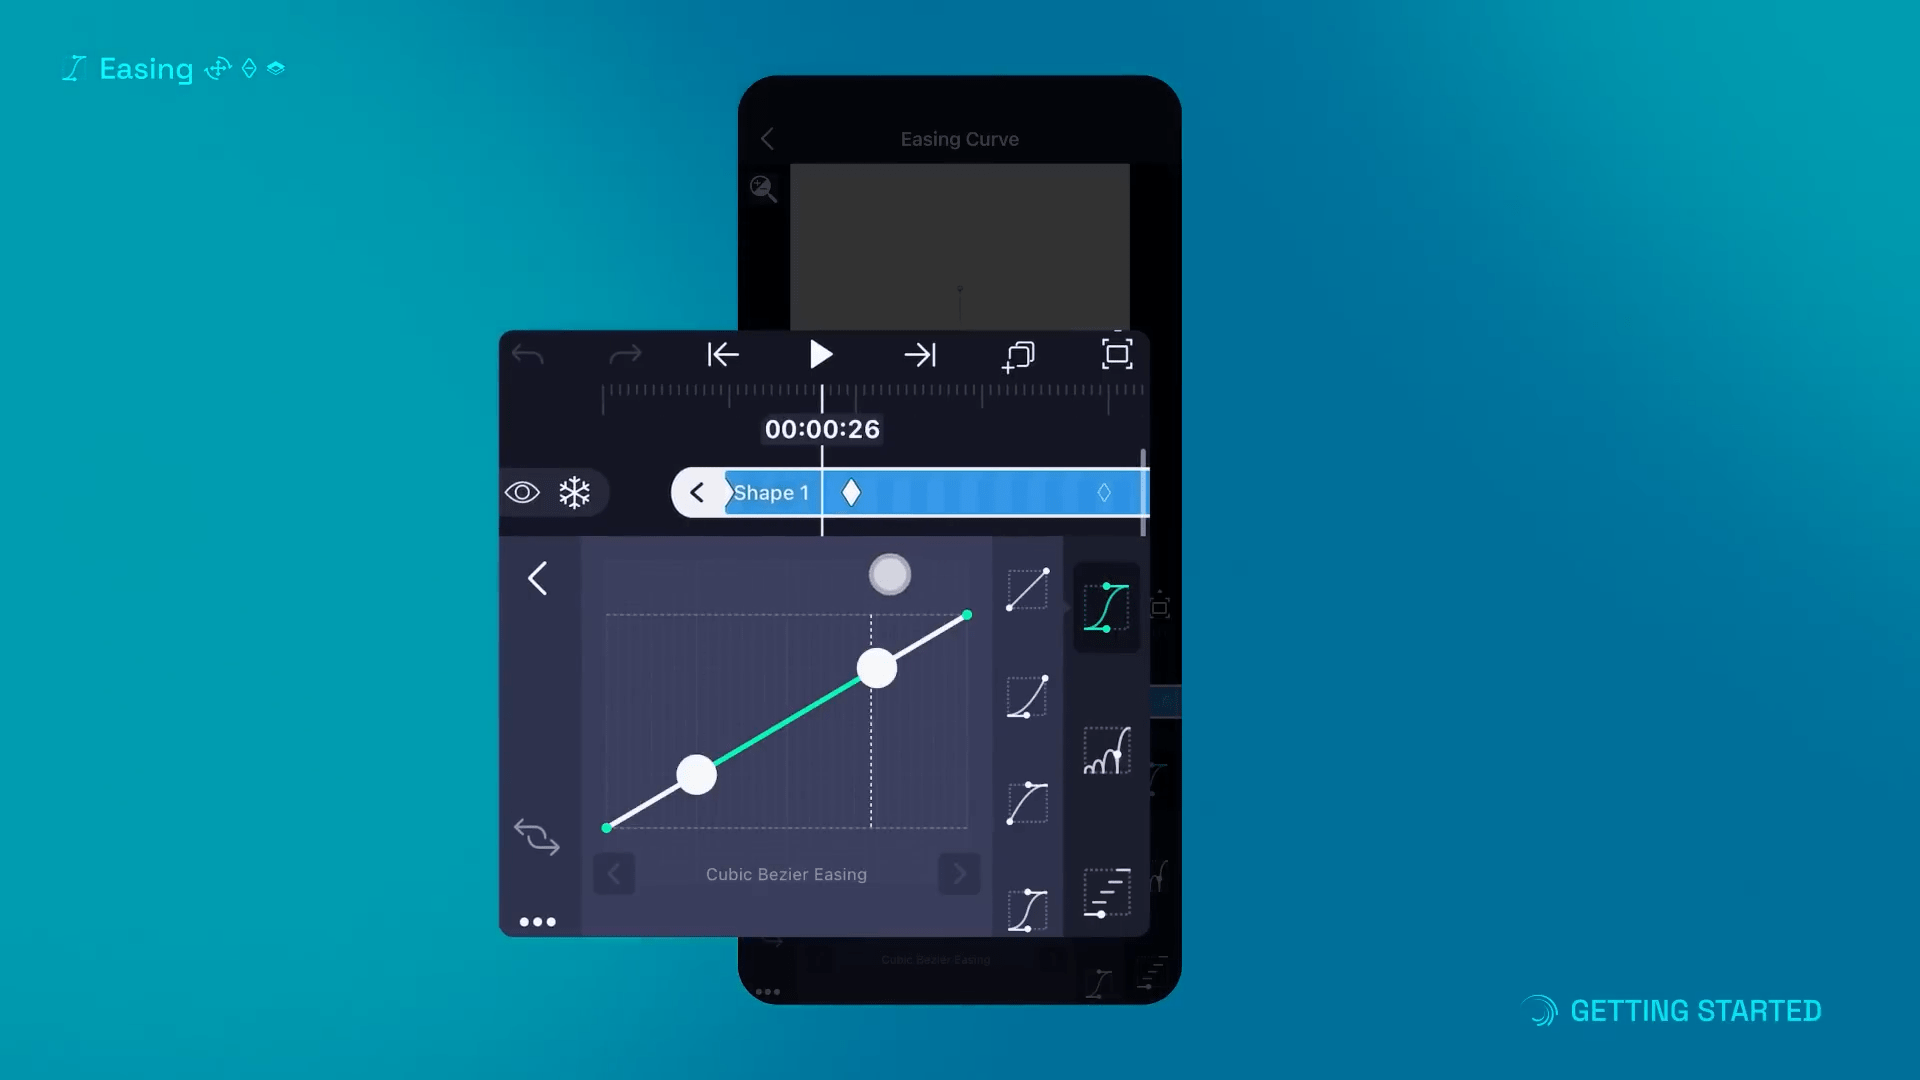
- Use easing to interpolate between keyframes smoothly
- Animate multiple properties like scale, rotation, and position together
- Copy animations between layers to reuse motions
This is just a starting point – Alight Motion provides extremely deep and advanced animation capabilities.
Video Editing Techniques
Apply these techniques to take your animations further:
- Trim longer videos into short clips needed for your project
- Change layer order in the groups to adjust overlap
- Alter the timing of layers using the timeline
- Add transitions between video/image clips
- Use masks to selectively hide layer portions
- Animate text with character-by-character control
- Sync animations to audio for dynamic motion graphics
As you can see, Alight Motion provides a video editing toolbox rivaling desktop software.
Exporting and Rendering
Finish your project by exporting it:
- Tap the Share button in the top navigation bar
- Choose an export format – video, GIF, image sequence
- Select resolution and frame rate
- PickMP4 format for easy sharing on social media
- Use 5-10 Mbps video bitrate for good quality
- Exporting can take time,, depending on length and complexity
And that’s it – you’ve created an awesome animated video with Alight Motion!