Alight Motion is quickly becoming one of the most popular video editing apps for mobile devices. With its intuitive interface, diverse toolset, and compatibility across iOS and Android, Alight Motion makes it easy for anyone to start creating professional-level animations and videos from their phone or tablet.
Overview of Alight Motion’s Features and Benefits
Let’s quickly summarize some of the top features that make Alight Motion an excellent choice for mobile video projects:
- Keyframe animation – The core of Alight Motion’s toolset. Transform assets and add motion.
- Hundreds of effects – Creatively enhance footage with a vast library of effects.
- Color grading – Cinematically color correct and grade footage with precision tools.
- Masking – Animate and reveal specific areas of videos or images.
- Speed control – Accelerate or slow down clips for dramatic effect.
- Rotoscoping – Meticulously animate frame-by-frame.
- Vector graphics – Illustrate ideas using vector shapes and lines.
- Audio editing – Trim, split, and finesse audio clips in the timeline.
- Video compositing – Combine and stack clips using alpha channels and blend modes.
- Keyframing audio – Sync animations beat-for-beat with music.
Getting Started with Alight Motion
Ready to start animating? Here is a quick step guide to getting up and running with Alight Motion on your mobile device:
Downloading and Installing Alight Motion
First, install Alight Motion from the App Store (iOS) or Google Play Store (Android), or Aliht Motion MOD. The app is free to download with in-app purchases for premium content.
Once installed, launch the Alight Motion app and familiarize yourself with the clean, intuitive interface. Time to start creating!
Creating a New Project
Tap the “+” icon to begin a new project. Here, you can select a preset that automatically configures resolution, frame rate, and duration settings suited for different social platforms and uses.
Or, start with a blank canvas and customize all settings from scratch. Name your project something memorable so it’s easy to locate later.
Understanding the Alight Motion Interface
The Alight Motion workspace is divided into four main areas:
- Viewer: Preview your animations and project timeline.
- Timeline: Stack layers and sequence animations on the multi-track timeline.
- Toolbar: Access all editing, animation, and export tools from the toolbar menu.
- Layers panel: Manage all assets, including video clips, images, audio, text, and shapes.
Take a moment to familiarize yourself with the intuitive layout. With a little practice, the interface will feel like second nature!
Basic Tools in Alight Motion
Now that you’re set-up, let’s overview some of the fundamental tools for adding and sequencing content in Alight Motion:
Timeline and Layers
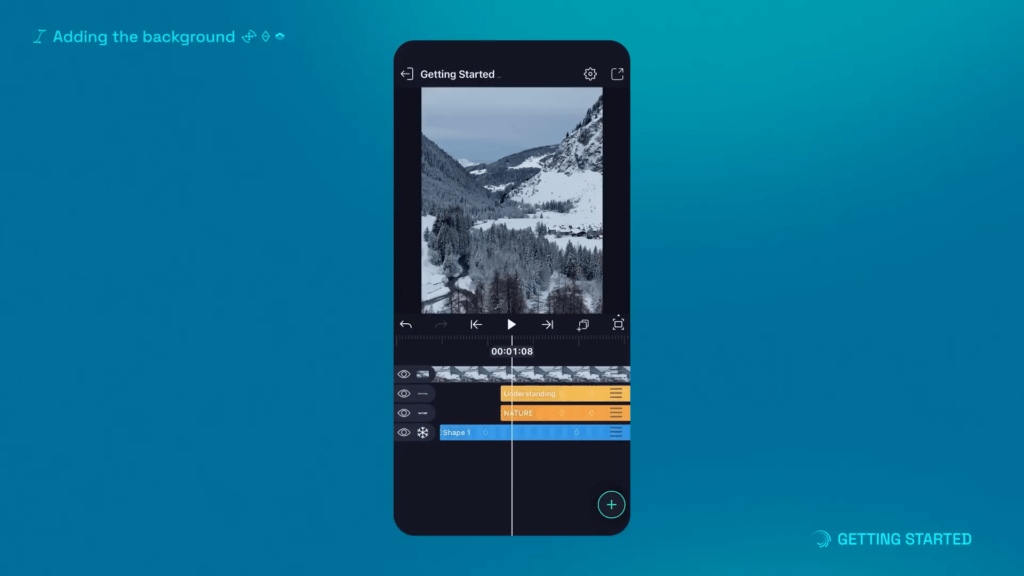
All animation in Alight Motion is built on the timeline. This is where you stack layers, sequence edits, set keyframes, and determine timing.
You can add unlimited layers to the timeline, including videos, images, shapes, text, and audio tracks. Reordering layers controls their visual stacking order.
Adding and Editing Media
Bring all your visual and audio assets into your Alight Motion project through the media browser. Support includes photos, videos, audio files, fonts, colors, and more.
Once added, clips and images can be trimmed, resized, rotated, repositioned, and edited directly in the viewer. All changes are non-destructive to source media.
Basic Editing Tools
Alight Motion includes all the expected core editing tools like trimming, splitting, and copying/pasting clips. Take advantage of:
- Razor tool to split clips.
- Trimmer tool to define clip in/out points.
- Change clip speed and direction.
- Add simple fade-in/out transitions.
- Pan and zoom images/videos.
All the basics are covered for video assembly and sequencing clips in Alight Motion. Time to level up!
Undo and Redo
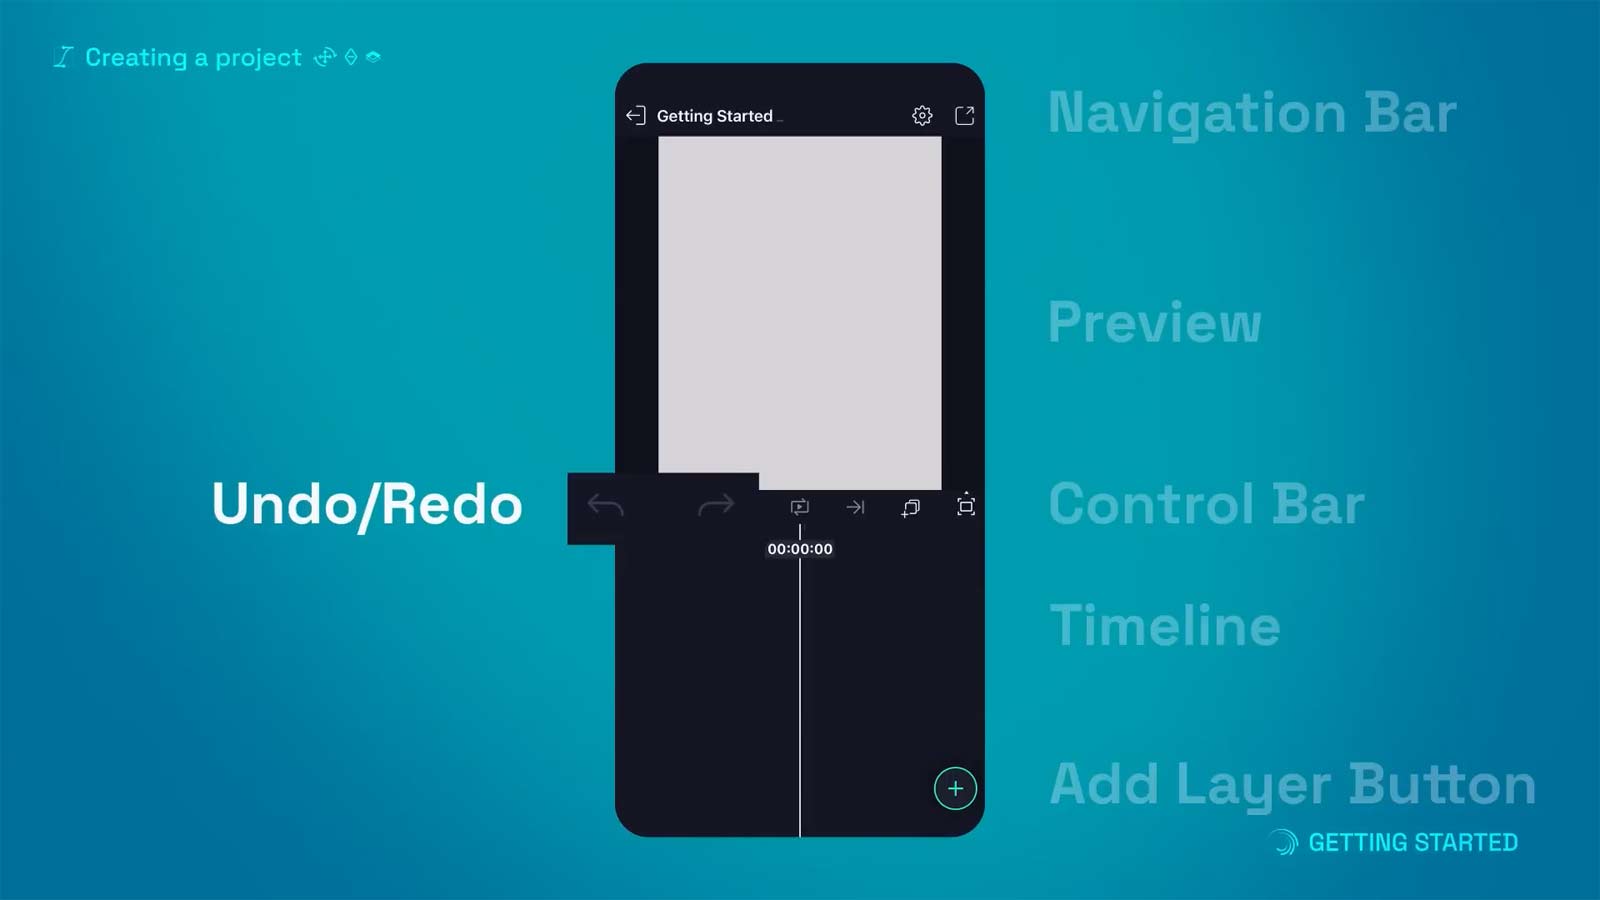
No editing tool is complete without undo and redo functions.
- Revert mistakes with the undo button.
- Redo reapplies undone changes if needed.
- Saves time compared to starting over.
Together these let you experiment freely without w
Advanced Tools in Alight Motion
The real magic lies in Alight Motion’s more advanced tools. Start taking your videos to the next level by harnessing:
Keyframe Animation
Keyframe any parameter to animate layers, text, effects, and more. Insert multiple keyframes to dictate values over time with curve-based easing. This opens a world of possibilities!
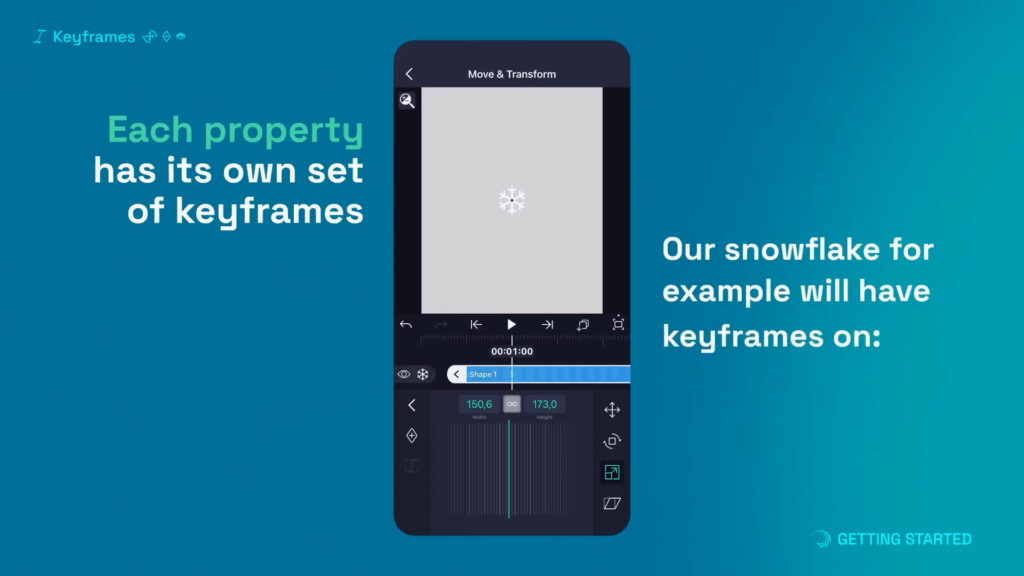
You can keyframe:
- Position, scale, and rotation
- Color filters
- Blur, glow, and distortion effects
- Mask shapes and paths
- Per-character text animations
>> Learn more about Keyframing Tools
The Add Layer Menu
New layers like shapes, text, and media get added to projects via the add layer menu.
- Provides tabs for different layer types.
- Easily add new elements to the animation.
- Layers appear above the menu for editing.
Building up a project is as simple as adding layers from this menu.
>> Learn more about Layer Menu
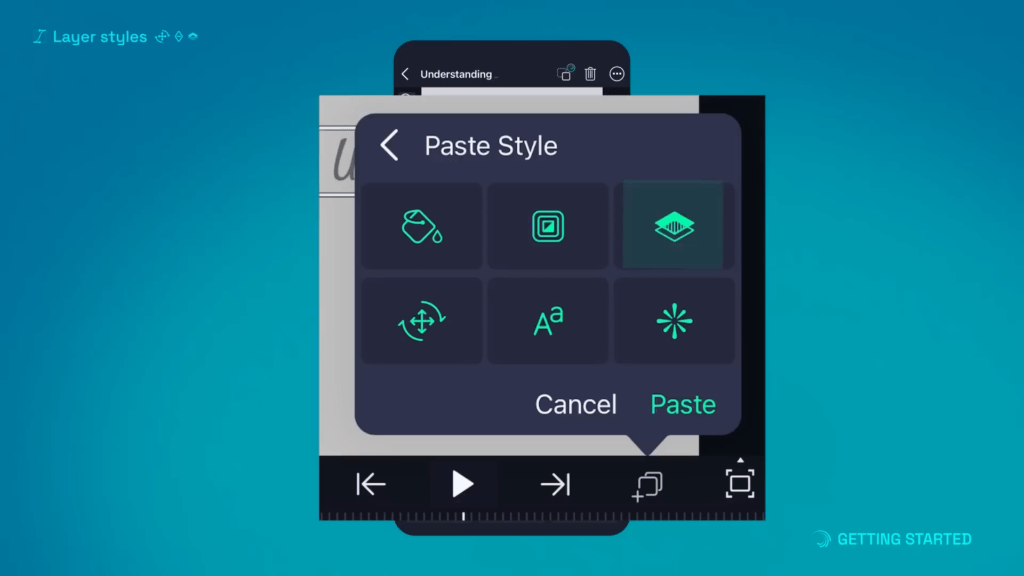
Color Correction and Grading
Enhance your project aesthetics using Alight Motion’s color grading toolbox. Correct, adjust, and set the mood with:
- Levels and curve adjustments
- HSL tuning
- Color filters like hue/saturation
- Gradient map overlays
- LUTs for advanced color mapping
Take colors from dull to dazzling.
Effects and Filters
Alight Motion comes loaded with hundreds of drag-and-drop video effects to stylize your projects, including:
- Blurs and distortions
- Black and white, vintage, neon filters
- Transitions like wipes, blinds, fractals
- Glitches and VHS effects
- Particle systems
Browse the effects library and get creative!
Exporting and Sharing Your Project
After perfecting your video, it’s time to export and share it with the world:
Exporting Your Project in Different Formats
Alight Motion supports exporting in formats like MP4, MOV, and GIF. Configure resolution, frame rates, and compression settings.
You can also export image sequences or individual frames as JPGs or transparent PNGs for external post work.
Sharing Your Project on Social Media
The export menu includes direct sharing options for YouTube, Instagram, TikTok, Facebook, and more. Optimize video dimensions and aspect ratios.
Tips for Optimizing Your Project for Different Platforms
Factor in platform-specific constraints like:
- Landscape vs portrait orientations
- Maximum video lengths
- Image and video compression settings
- Ideal resolutions for small screens
With the right settings, your Alight Motion videos will share flawlessly!