Camera objects allow controlling the viewpoint and perspective in your Alight Motion animations. Placing layers at different distances and animating camera properties like zoom and focus blur adds realism. Mastering cameras opens up new creative possibilities.
Adding Camera Objects
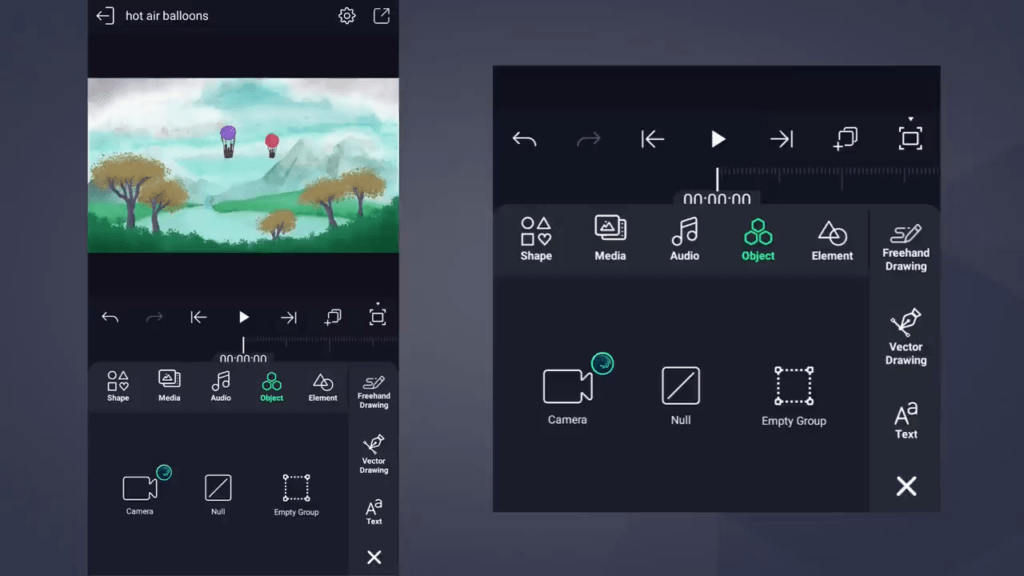
- Camera objects are special layers that control the scene viewpoint.
- Add a new camera from Layer > Object > Camera.
- The camera displays a wireframe showing visible areas.
- Multiple cameras can be added to a project.
Enabling Camera View
- Turn on Active Camera View to see through the camera.
- The scene appears to move when the camera object moves.
- Layers at different distances move at different speeds (parallax).
- Turn off the camera view to see the actual scene position.
Controlling Camera Position

- Move the camera in X and Y to pan around the scene.
- Tap the Z axis in the control pad to move the camera forwards and backward.
- Use keyframes on position to animate camera moves.
- The rotation setting spins the scene view clockwise or counterclockwise.
Camera Options
View Angle and Zoom
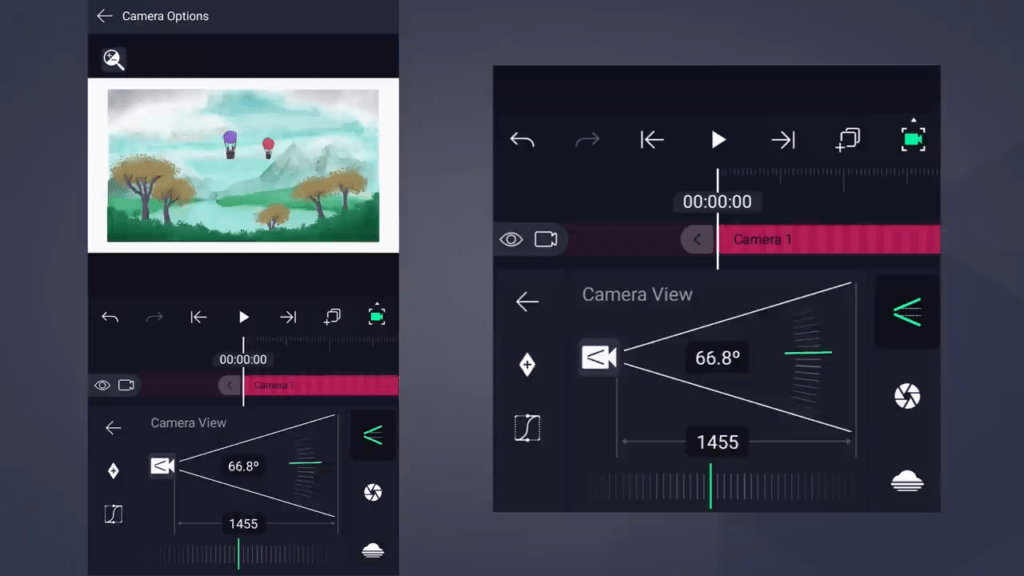
- The view angle sets the horizontal field of view.
- Zoom distance determines object size. The broader view angle zooms out.
- View angle and zoom are interconnected.
- Pinch to zoom changes the view angle, not the actual size.
Focus Blur
- Simulates real lens focus blur based on layer distance.
- Set focus distance and depth of field. Layers outside range blur.
- Move layers, camera, or change focus distance to adjust focus.
- The animate focus over time guides the viewer’s attention.
Fog
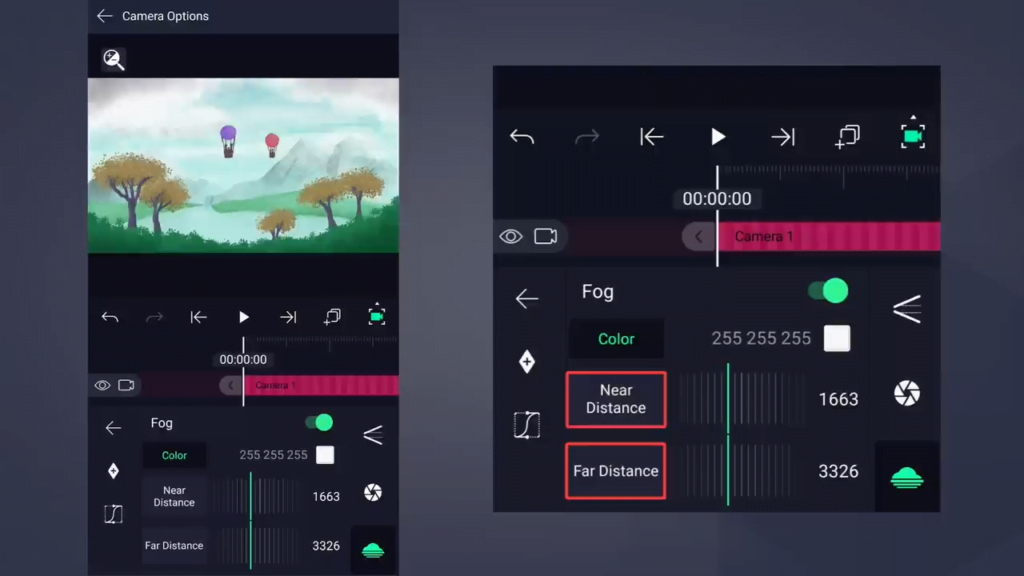
- Adds atmospheric haze obscuring layers based on distance.
- Control fog density using near/far distances.
- Animate fog distances or move the camera to change fog thickness.
Multiple Cameras
- Switch camera visibility to change the active viewpoint.
- Only one camera is active at a time.
- The topmost visible camera takes priority.
- The bottom camera acts as default if no other camera is visible.
Cameras and Other Features
- Apply motion blur once on the camera instead of all layers.
- Add motion effects like shake to the camera for realistic camera work.
- Parent layers to camera for tracking shots.
- Parent camera to null for separate control of movement axes.
Camera Animation Tips
- Animate camera properties like focus over time to guide focus.
- Move camera forward on Z axis to reveal layers and enhance parallax.
- Create camera rigs with nulls for complex compound moves.
- Add motion blur, tracking, and stabilization effects to the camera.
- Use parallax to add depth and perspective to flat scenes.
- Enable depth blur to emulate focal planes and strengthen 3D effect.
When to Use Camera Objects
- Panning over large scenes or focal points
- Transitions between different subjects or viewpoints
- Enhancing 2D with simulated 3D parallax motion
- Guiding focus and visual flow with focus blurring
- Unifying scenes with atmospheric effects like fog
- Mimicking real camera work like pans, zooms, and shakes
Cameras amplify motion and perspective in your animations. Strategically positioning layers in 3D space and animating camera properties like zoom and focus creates immersive worlds and focuses viewer attention. Mastering camera motion techniques will make your Alight Motion animations pop!